How to Link Your Showit Website Template to a Booking System
What you need to know
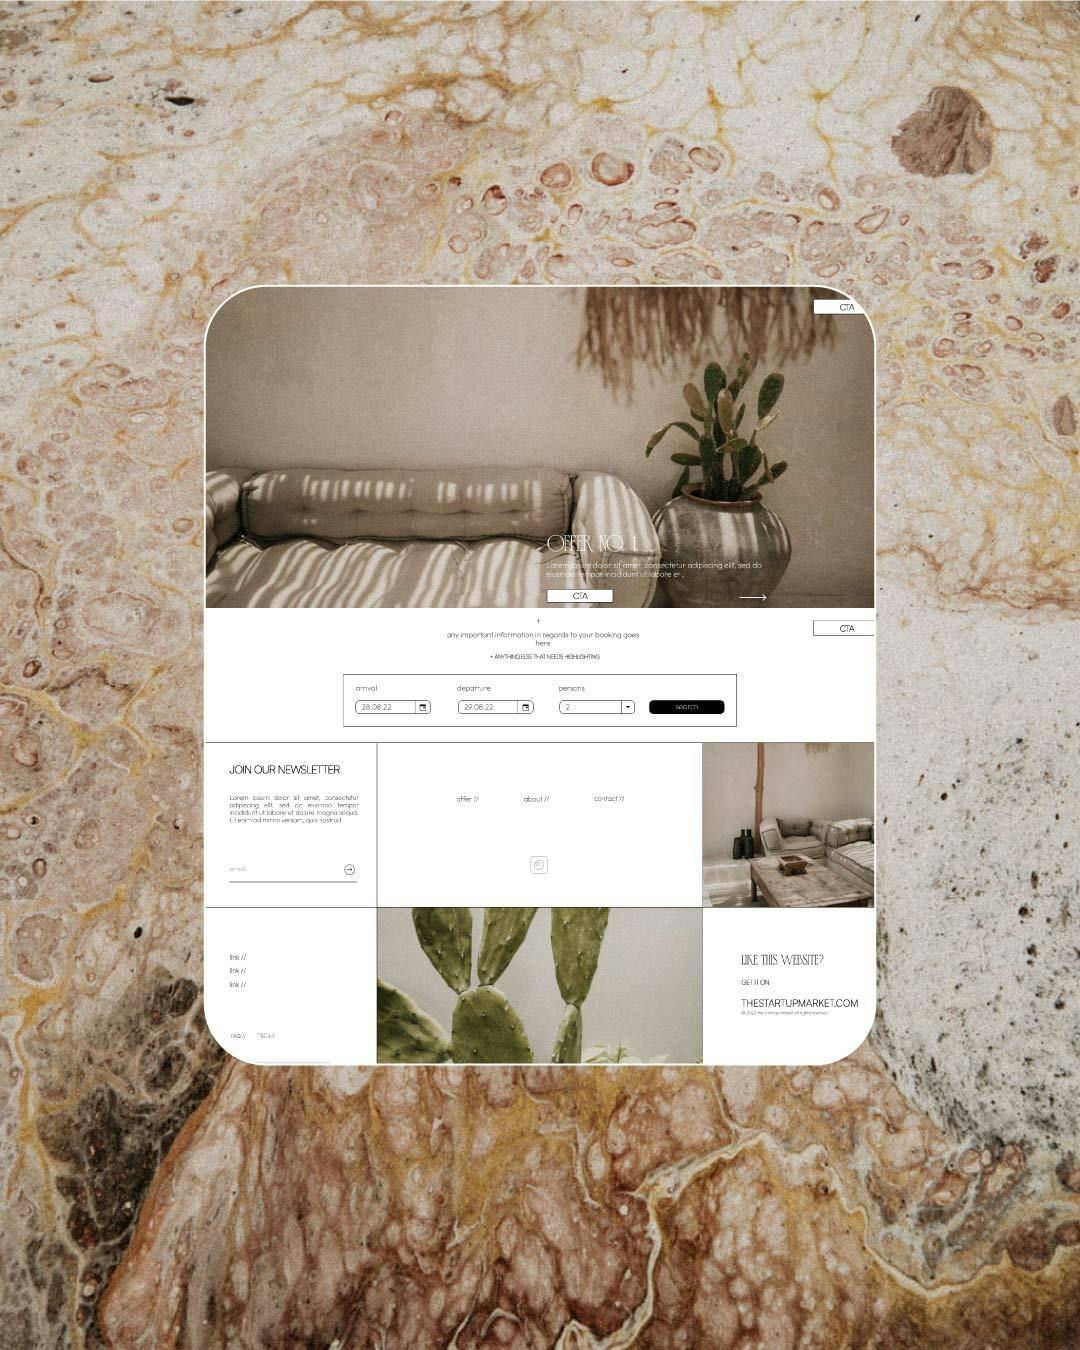
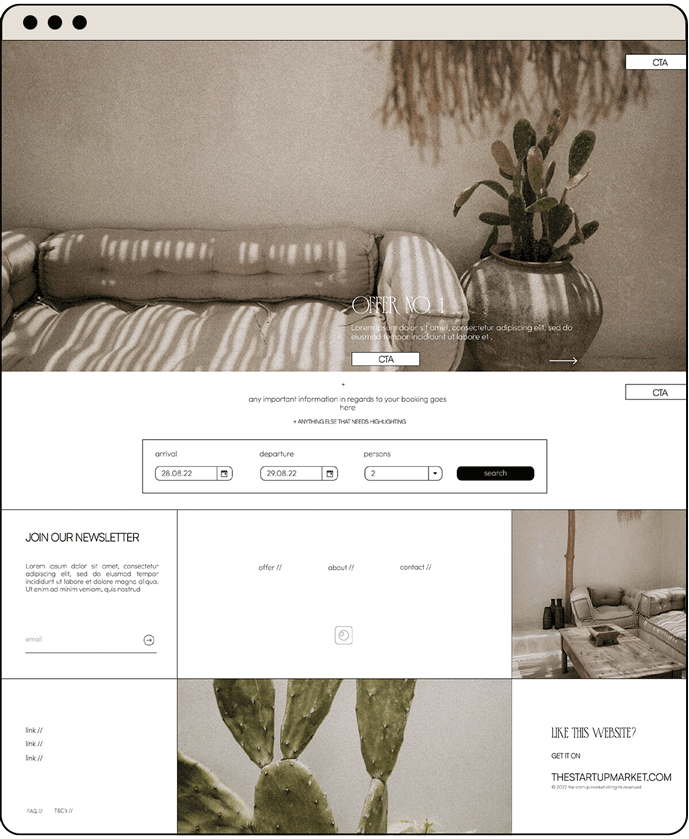
In this guide, we'll teach you how to link your Showit template to a booking system that let's you get direct bookings. Eveything we'll show you here can be applied to any Showit website, but our Hotel Booking Templates are already optimized for this purpose and they already have placeholders for booking actions, specific pages for properties and they were specifically designed for this purpose.
Our booking templates are already pre-linked to a smoobu test account and all you have to do is set up and link your own. If you won’t be using smoobu, you'll need to apply step 7, but you need to figure out how to get the embed-code from the booking portal.
What is Smoobu and why do we recommend it?
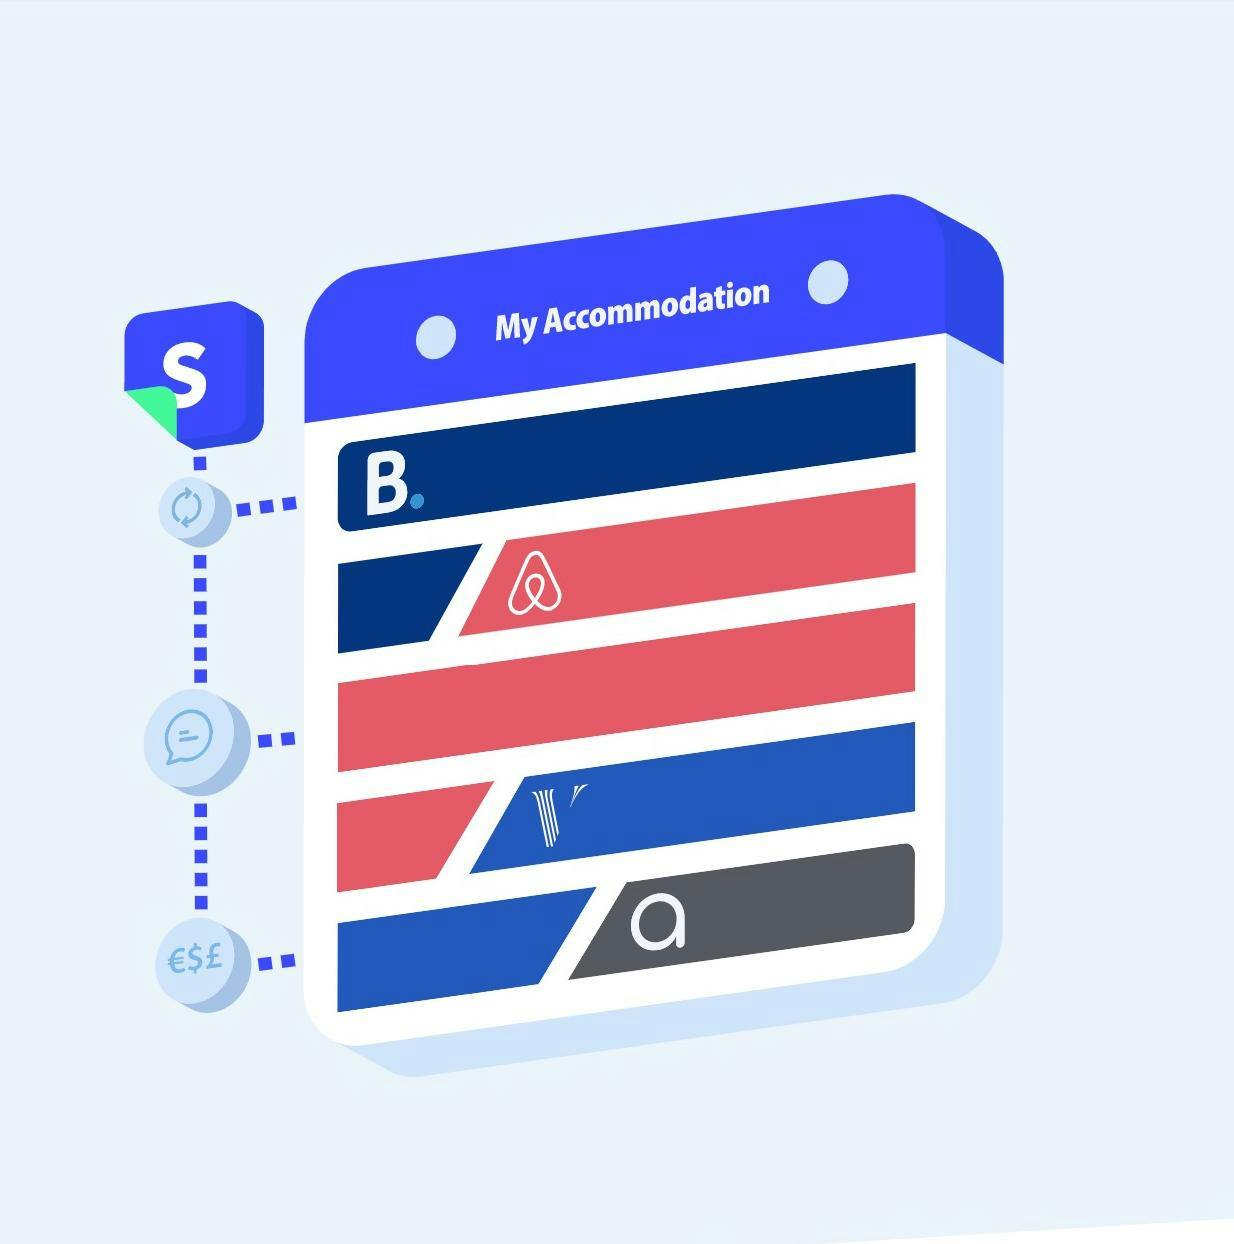
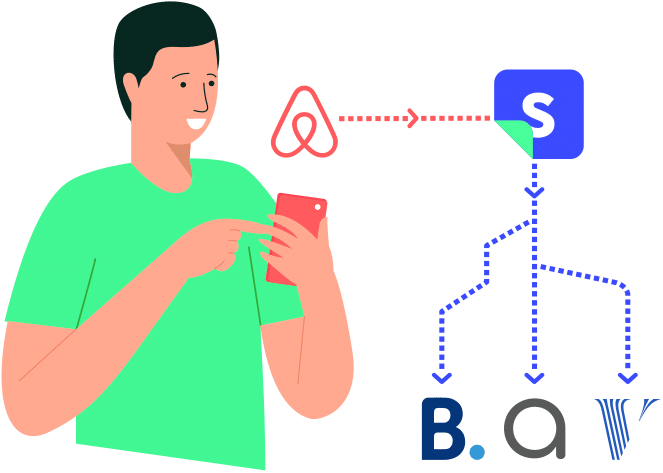
Before even considering creating our own hotel templates we went on a quest to find a great platform to link our templates with, we wanted ease of use, reliability and a bit of flexibility in terms of design - but that's not all it also links up with airbnb and booking.com to manage bookings if you still want to list your accommodation there for visibility. Here's a summary of what Smoobu can do for your propery:
- Automatic booking synchronization
- No commissions on direct bookings
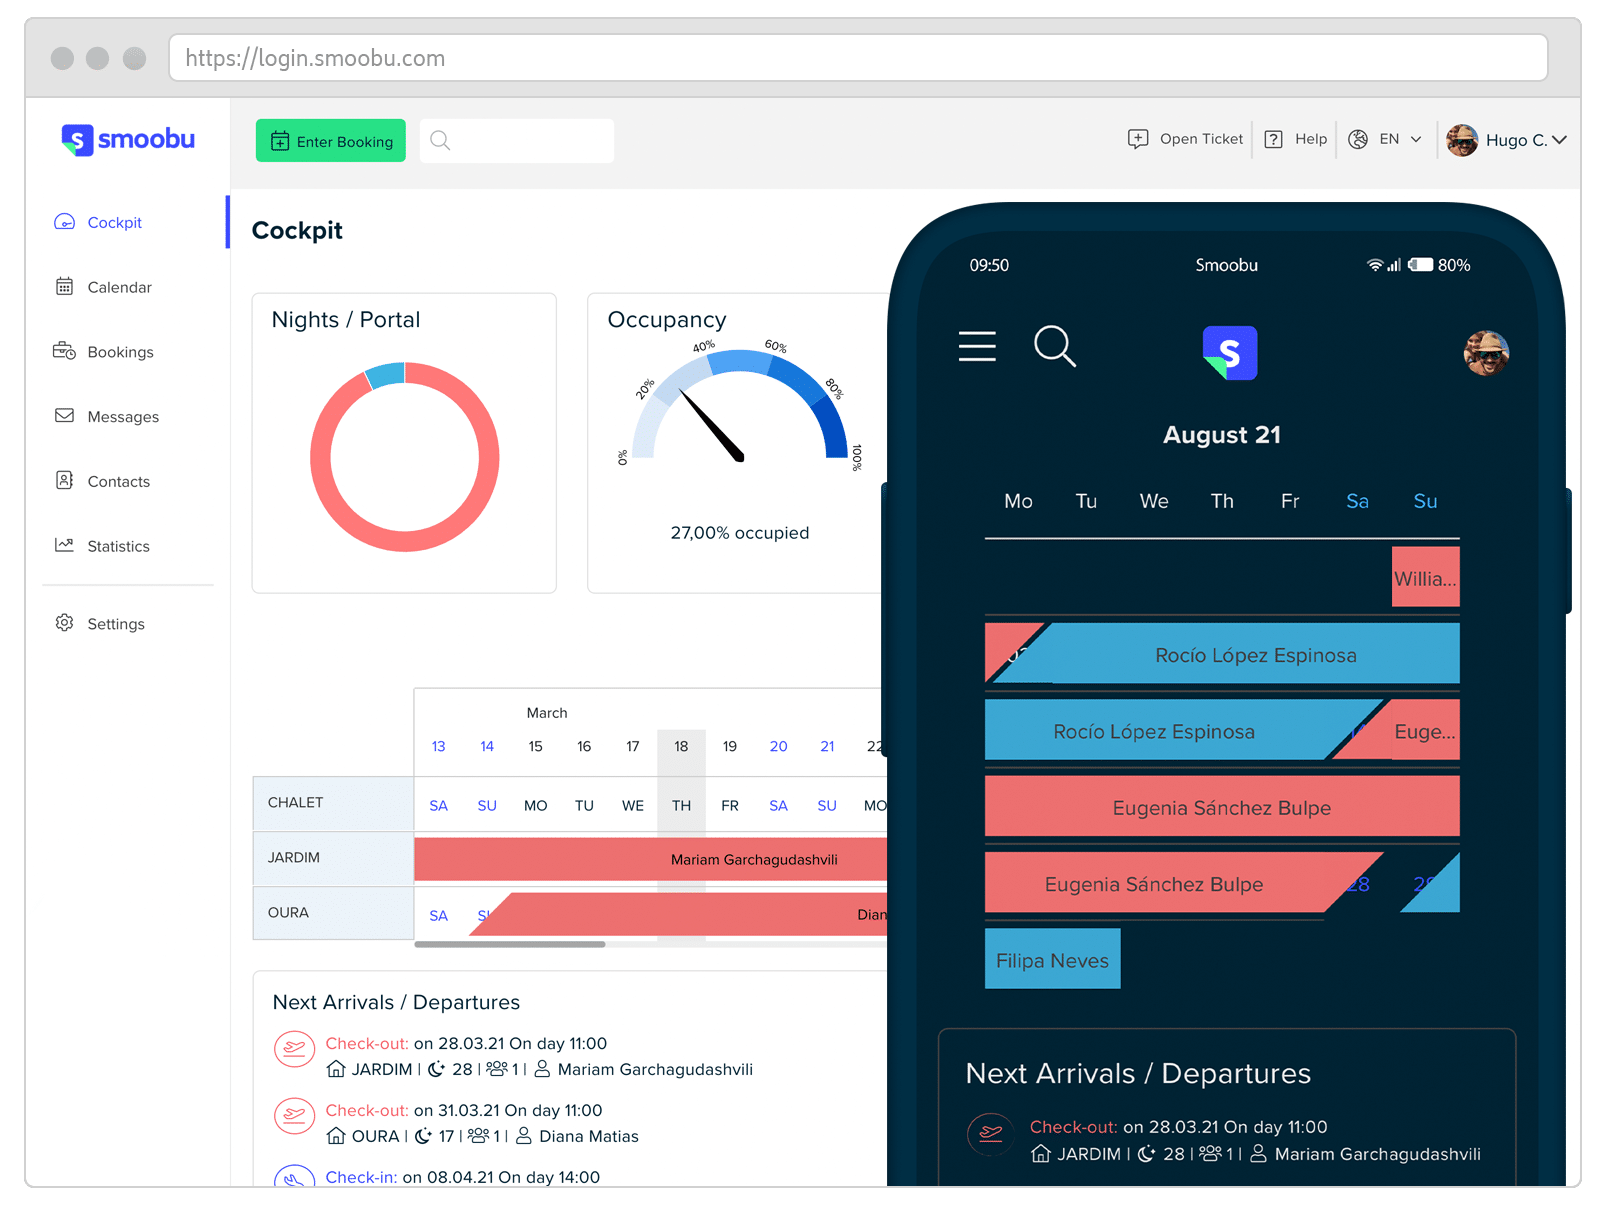
- Occupancy and revenue statistics
- A dashboard providing everything you need
- Adapt rates per day/period or days of the week, add mark-up for booking portals
- Full integration of Booking.com & Airbnb messaging API
- Automated event-based messaging
- Personalised booking confirmations
and so much more!
We're lucky enough to have been able to test this templates as we developed them, so we also took feedback from hotel owners during this process and let us tell you something, they loved Smoobu just as we did.
Before you start:
We recommend you to finalize your website in Showit before linking it to the booking platform, so that you don't need to be jumping back and forth during the design process.
If you want to be able to process online payments you need to setup payment gateways like Stripe or PayPal, have a look at which ones are available in your region and which ones are supported by the booking platform (Smoobu supports mainly Stripe and PayPal).
Lastly, the images on the steps below are clickable. Click on them to see a full-size screenshot of the step you're currently at.
What you'll be doing


Head over to smoobu and create your account (at the time of writing this guide you get a 14-day free trial).
Set up your smoobu account. We’ll only cover the basic steps to get your showit site going, but smoobu covers all the other topics in their guides.
To use our templates with Smoobu you’ll have to:
- Configure your payment methods: head to settings → integrations, or follow this link
- Manage your accommodations: head to settings → accommodations or follow this link.
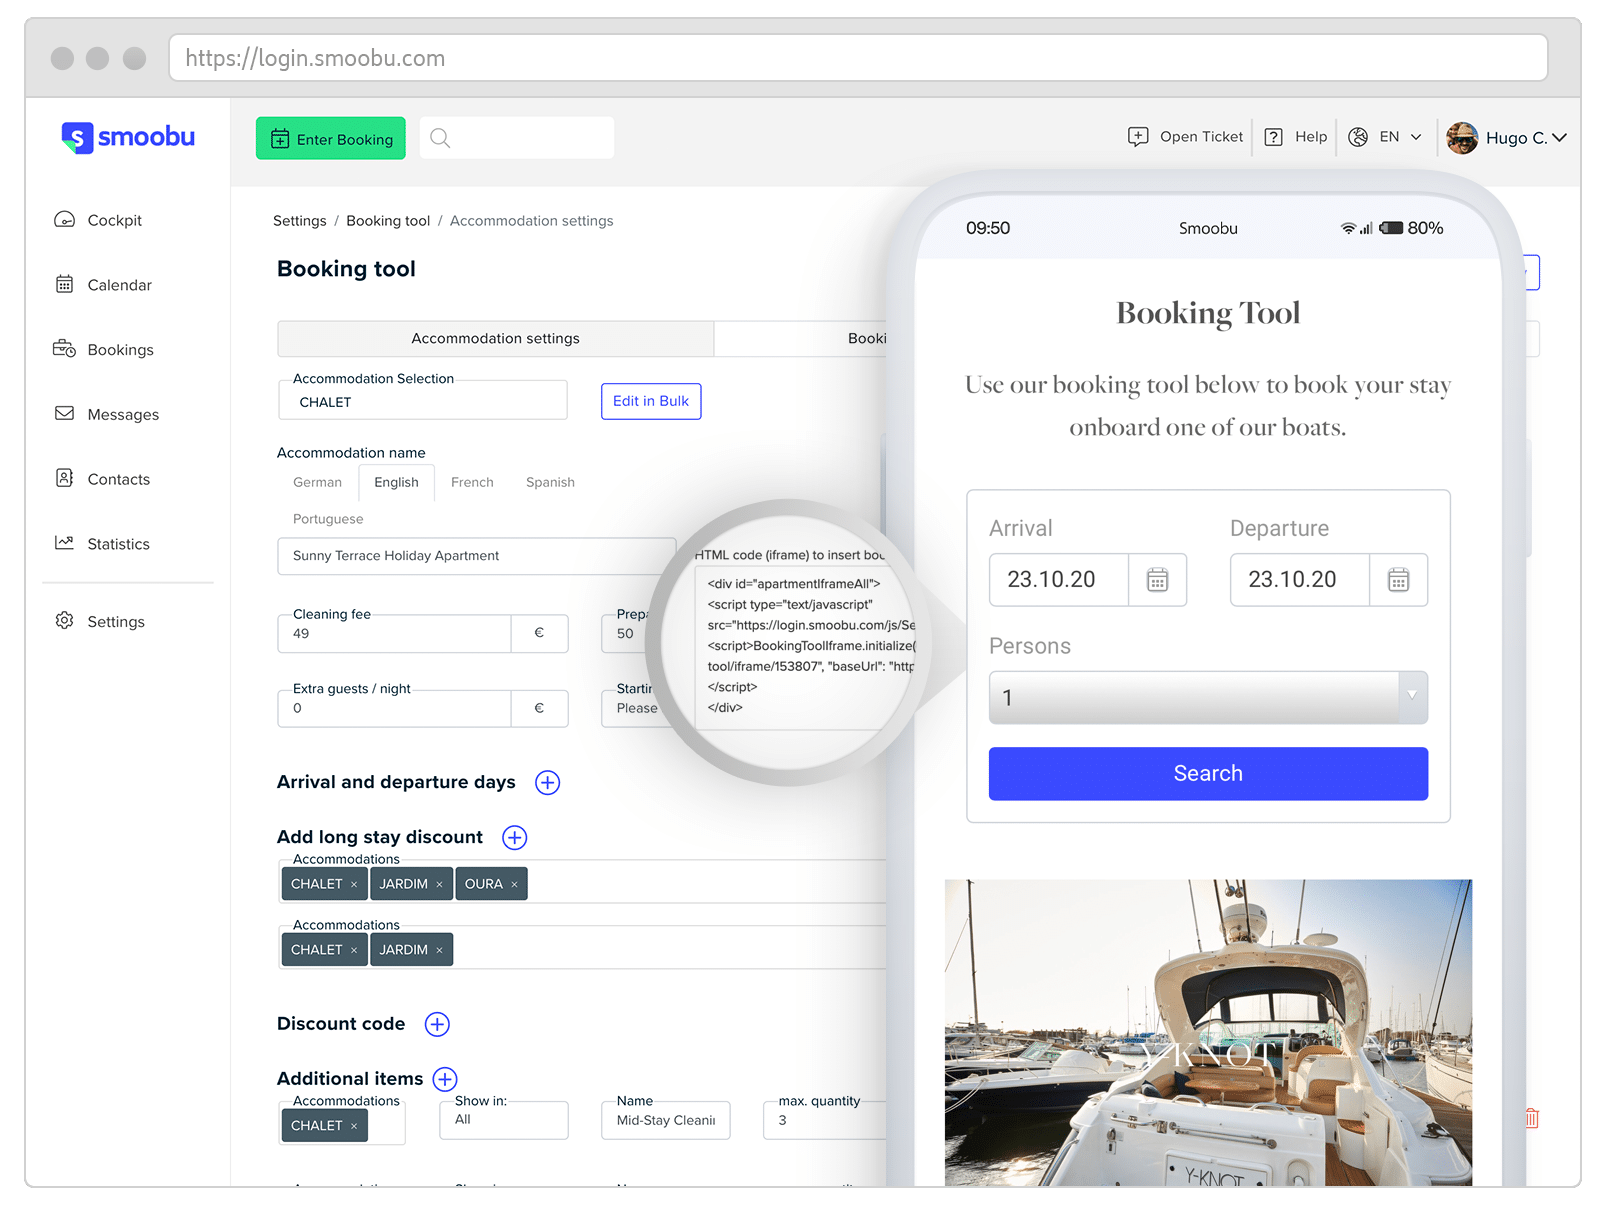
Head to settings → booking system. There is quite a lot to set up here, but you need to do this in any other platform anyways, you can follow this guide or this master guide. You only need to worry about the first tab (Accommodations Settings) - this is the part we can’t help you with.
Note: The actual price of the room is set up on the calendar page, follow this link
click on the image to see it in action
In this page, link the payment gateways that you set up in step 2. We also need to define the currency for the bookings plus other important configurations:
- Link the terms & conditions and the privacy policy pages. In the booking system tab, scroll to the Details dropdown and paste the links to your terms & condition page and the privacy policy page, the link will be (<your main domain>/privacy-policy and <your main domain>/terms-and-conditions)
- In the successfully booked dropdown add your website url (<your main domain>/thank-you)
Note: Our templates come with thesee pages but make sure that you include your own there, our copy is there only as placeholder.
click on the image to see it in action
In the custom style dropdown paste the following code, this is css-code used to style the platform with the colors of the template - if you want to change these colors please send us an email to hello@thestartupmarket.com
click on the image to see it in action
In the embed in website tab you will get the final code for your widget. You can either get widgets for a specific accommodation or for all of them - for now just make sure that “All Accommodations” is set under Embed In Website, tick the Open Results In New Tab and copy the HTML code in the box.
click on the image to see it in action
Go to Showit and paste this code in the Embed Block.
- Open your template and go to the homepage.
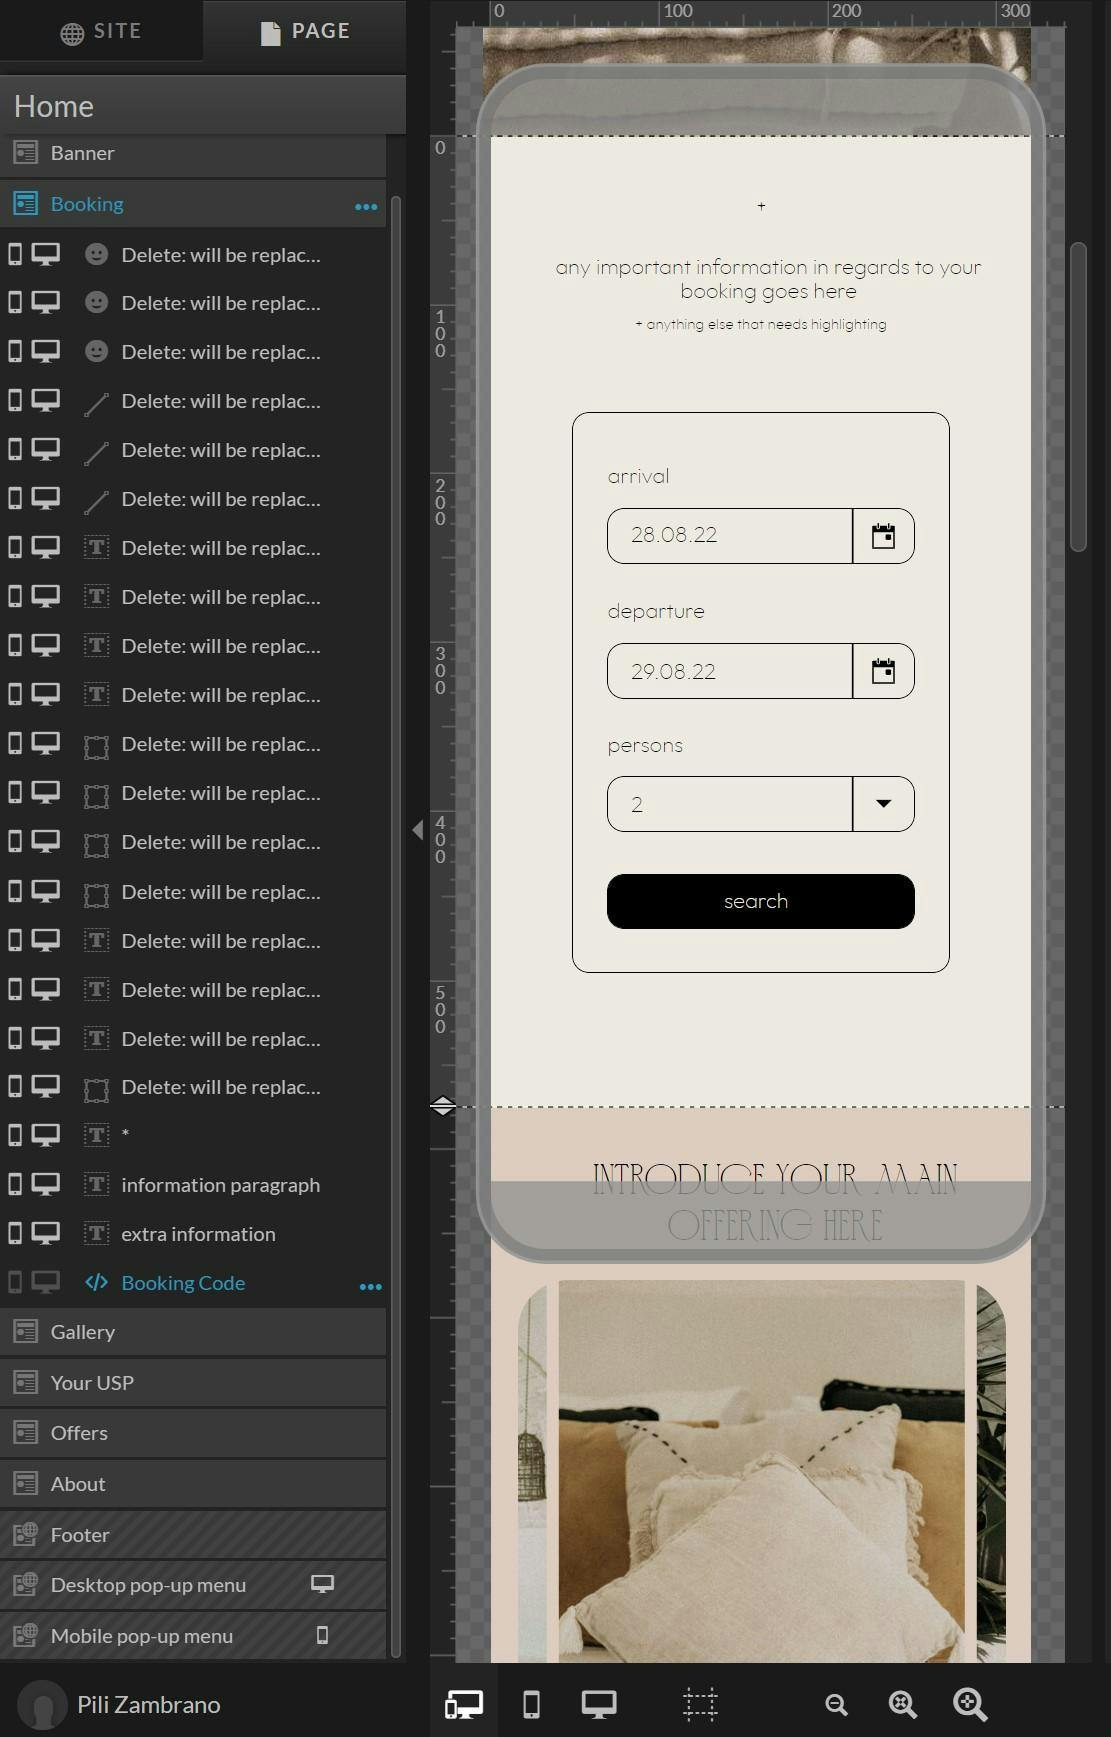
- On the Page tab go to the Booking Section and select the Booking Code element. Then, paste the code from Smoobu by clicking on the Custom Code box in the Embed Info tab on the right toolbar.
You can repeat this steps for all the pages where you want to have a booking widget - going back to the configurations in smoobu, if you just want to link a single accommodation you can simply paste that code following the same steps, but we’d recommend you to leave the Open Results In New Tab unchecked.
click on the image to see it in action
Head back to Smoobu and on the External Link dropdown in the Embed In Website tab on the Booking System Page and paste the links to your accommodation pages (we recommend you to do this after you publish your page, so you can simply copy and paste the url from your live site).
click on the image to see it in action